Hi guys welcome to today’s tutorial, today we will be building a simple Arduino based weather station to monitor the temperature and humidity of the environment using an Arduino Mega, 16×2 LCD display shield and the DHT11 temperature and humidity sensor.
The main ingredient/ parts that will be used in this tutorial is the DHT11 temperature and humidity sensor. The sensor is capable of measuring the ambient temperature and humidity in a particular area. The DHT11 is a basic, ultra low-cost digital temperature and humidity sensor. It uses a capacitive humidity sensor and a thermistor to measure the surrounding air and spits out a digital signal on the data pin (no analog input pins needed). Its fairly simple to use, but requires careful timing to grab data. The only real downside of this sensor is you can only get new data from it once every 2 seconds.
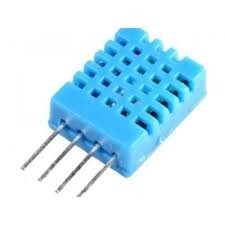
DHT11 Temperature and Humidity Sensor
some of the features of the sensor are listed below;
- Low cost
- 3 to 5V power and I/O
- 2.5mA max current use during conversion (while requesting data)
- Good for 20-80% humidity readings with 5% accuracy
- Good for 0-50°C temperature readings ±2°C accuracy
- No more than 1 Hz sampling rate (once every second)
Required Parts and Where to Buy
The components/parts listed below are required to build this project and they can be bought through the link in front of them.
- Arduino Mega: https://educ8s.tv/part/ArduinoMega
- Keypad display: https://educ8s.tv/part/KeypadShield
- The DHT11 sensor: https://educ8s.tv/part/DHT11
- OLED Multimeter: https://educ8s.tv/part/UsbDoctorOLED
- Powerbank: https://educ8s.tv/part/Powerbank
- Wires: https://educ8s.tv/part/Wires
Full disclosure: All of the links above are affiliate links. I get a small percentage of each sale they generate. Thank you for your support!
[adsense]
Schematics
The schematics for this project is simple we only need to connect the DHT11 temperature andumidity sensor as shown in the schematics below.
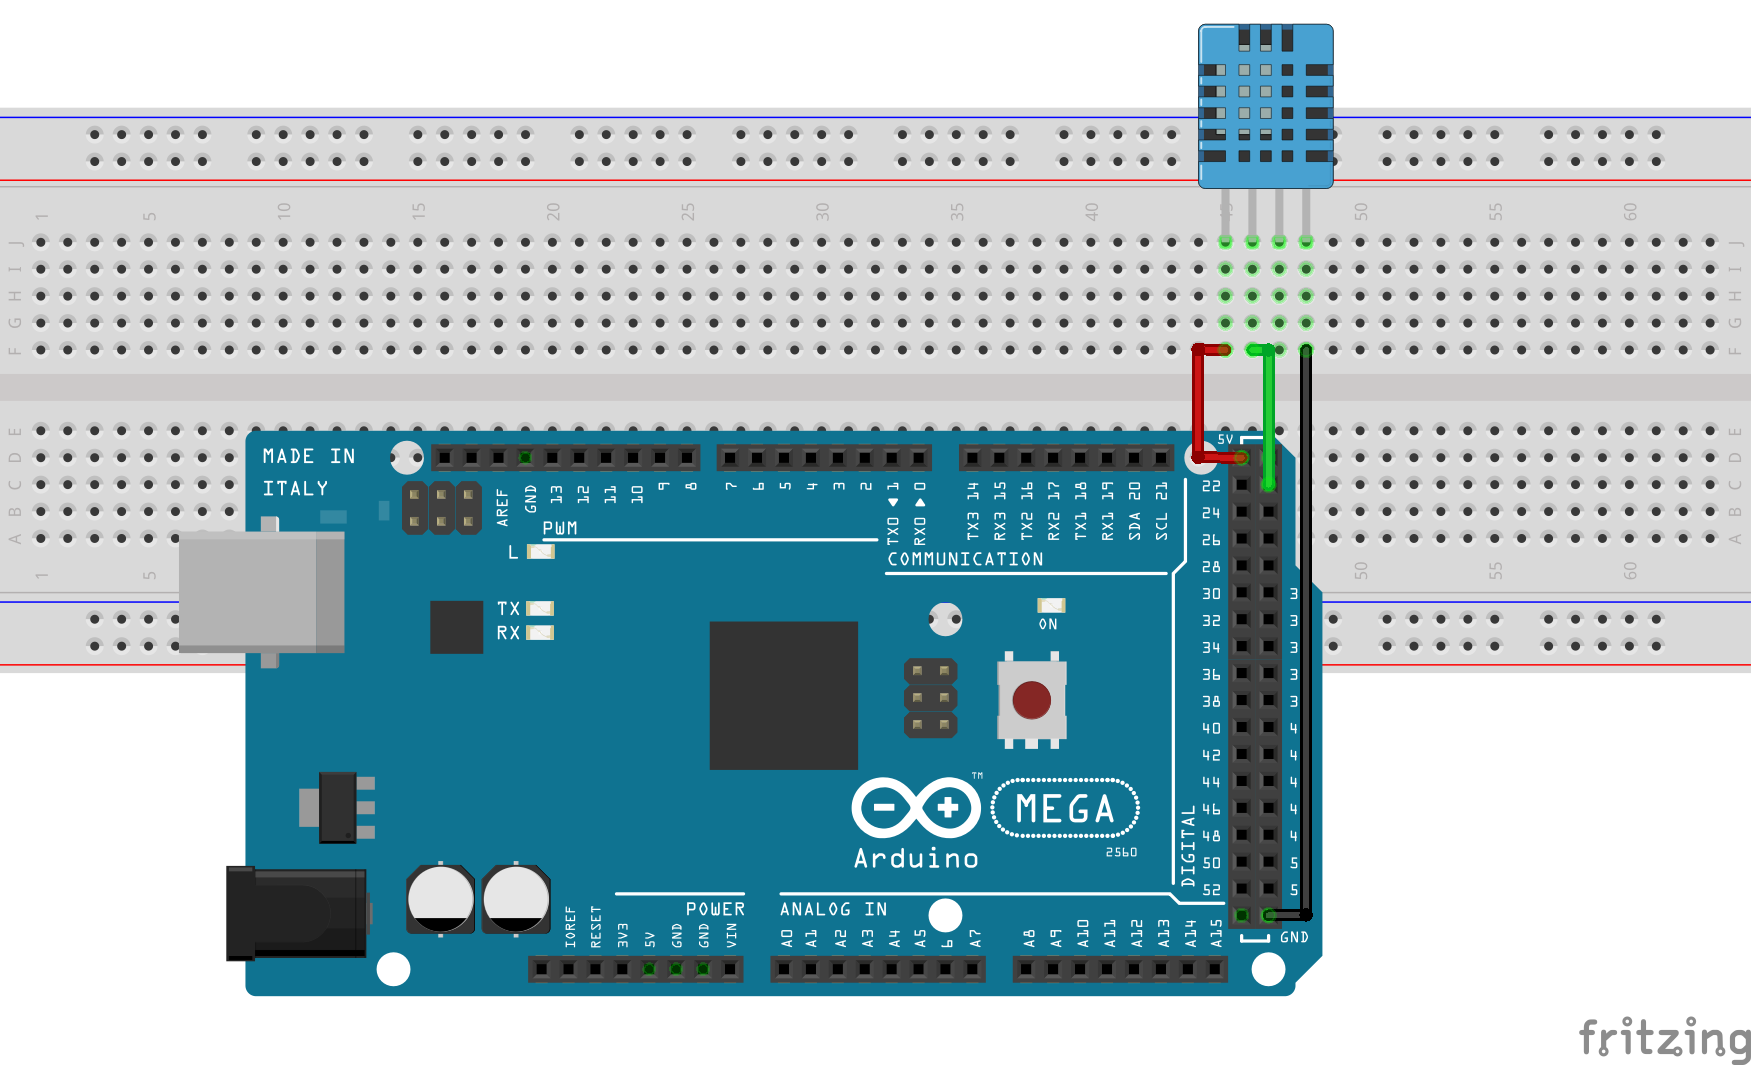
The 16×2 LCD display comes in form of a shield which makes it easy to mount the display on the Arduino.
Code
The code for this project is quite simple, as I will show you, it takes just 47 lines of code including comments and declarations to get the project working.
The algorithm behind the code for the project is quite simple, we start by establishing communications with the sensor after which we request for temperature and humidity readings from it. These readings are obtained in Celsius and Fahrenheit and are displayed on the 16×2 LCD display shield.
We will be using two libraries for this project, the DHT.h library to easily communicate with the DHT11 and the liquidcrystal.h library to make communication with the 16×2 LCD Display shield easy. while the liquidcrystal.h library comes pre-built with the Arduino, the DHT library does not, but it can be downloaded and installed from this link (https://github.com/adafruit/DHT-sensor-library)
To briefly explain the code for this project, we start, as usual, by including the libraries to be used(mentioned above).
/////////////////////////////////////////////////////////////////
   //            Arduino Weather Station #1             v1.02     //
  //       Get the latest version of the code here:              //
 //         https://educ8s.tv/arduino-weather-station-1/         //
/////////////////////////////////////////////////////////////////


#include "DHT.h"
#include <LiquidCrystal.h>
Next, we define the pins of the Arduino to which the DHT signal pin is connected, then create an object of both the DHT library and the LCD library.
#define DHTPIN 22     // what pin we're connected to

#define DHTTYPE DHT11

DHT dht(DHTPIN, DHTTYPE);
LiquidCrystal lcd(8,9,4,5,6,7);
Next, is the void setup() function. We simply initialize the LCD and the DHT sensor to begin communication.
void setup(void) {
  lcd.begin(16, 2);
  lcd.print("Reading sensor");
  dht.begin();
}
Under the void loop function, we basically check for the current temperature and humidity readings from the sensor, then convert the values received to strings using the dtostrf function and print on the display.
void loop() {

  float temperature, humidity;

  humidity = dht.readHumidity();
  temperature = dht.readTemperature();
  delay(2000);

 lcd.clear();

 char tempF[6];
 char humF[6];
 dtostrf(temperature, 5, 1, tempF);
 dtostrf(humidity, 2, 0, humF);

 lcd.print("T:");
 lcd.print(tempF);
 lcd.print((char)223);
 lcd.print("C ");
 lcd.print("H: ");
 lcd.print(humF);
 lcd.print("%");
}
The complete code for this project can be downloaded via the link below.
——————–
CODE OF THE PROJECT
——————–
Upload the code to your setup, the connection is not too difficult but ensure everything is as it should. power on the system, you should see the current ambient temperature and humidity being displayed on the LCD as shown in the image below

Arduino Weather Monitor
That’s it for this tutorial guys thanks for reading/watching. Hit the subscribe button below to subscribe to our channel on youtube and get daily updates.
——————–
SUBSCRIBE ON YOUTUBE
——————–
Never miss a video: Subscribe to educ8s.tv
Hi, What a great video and examples. Thanks for the sketch and demonstration. I have built it and it works very well.. Now I am moving on to a different LCD display and other applications for my project. Since I am not good at programming I was wondering if you could annotate \\ some of the code and point me to a method of converting “Temperature” Celsius to Fahrenheit?
Thanks again
thank you for video, this video helps me much
Hi,
Constantly getting this error:
“In file included from C:\Users\mbart\Documents\Arduino\libraries\DHT-sensor-library-master\DHT_U.cpp:22:0:
C:\Users\mbart\Documents\Arduino\libraries\DHT-sensor-library-master\DHT_U.h:25:29: fatal error: Adafruit_Sensor.h: No such file or directory
compilation terminated.
exit status 1
Error compiling for board Arduino/Genuino Mega or Mega 2560.”
no reading. NAN word apper at temperature and humidity VARS on screen
add clock 1307
i have T: 1,4C wy?